Some theory
To understand the peculiarities of infrared photography, i.e. a process for recording invisible light, let us first consider a few aspects that are important for recording visible light. Only a narrow range of electromagnetic waves can be detected by our (healthy) eyes. It ranges from red (750 nm) to violet (400 nm). Depending on the location, day and season, there are differences in the distribution of the individual wavelength components in the perceived light. If the reddish parts predominate, the light is perceived as warmer, and the bluish parts predominate, resulting in a cooler color mood. We first consider the color temperature of the light. Color temperatures are measured in Kelvin (e.g. 1,000 K - 12,000 K). The higher the Kelvin number, the bluish and colder the light. If we were in space and looked into the sun, we would perceive a color temperature of 5778 K. The filter effect of the earth's atmosphere leads to a color temperature of the high sun of 5777 K. The international standard for medium sunlight is 5500 K; it is the tone of a sunny day with clear skies in the morning or afternoon. Here are some examples of different color temperatures:
| Candle | 1500K |
| Moonlight | 4120K |
| Morning-/Evening sun | 5000K |
| AM / PM Sun | 5500K |
| midday sun | 5500K - 5800KK |
| Fog, mist | 7.500 K - 8.500 K |
| Blue Hour | 9.000 K -12.000 K |
When photographing motifs that do not independently emit light, depending on the lighting situation (sunlight, artificial lighting, mixed forms), one records the electromagnetic waves that are reflected, scattered and diffracted by these very motifs. This creates melancholic moods if the blue components of the (illuminating) light predominate in the blue hour or objects are shown in the cozy warmth of the golden hour if the red components of the light of the sun predominate. (For this we will deal with aspects such as Chappuis absorption and Rayleigh scattering in a separate article on the subject of the blue hour and, for example, investigate the question: "Why does the earth also appear from space as a blue planet?"
Infrared radiation means the invisible range of light with a wavelength between 780 nm and 1 mm. This corresponds to a frequency range from 300 GHz to 400 THz. We cannot see this area with our eyes but feel it as warmth.
For completeness - the range of ultraviolet radiation traditionally ranges from 380 to 100 nm and is divided into the sub-ranges UV-A (380 - 315 nm), UV-B (315 - 280 nm) and UV-C (280 - 100 nm) ,
Infrared photography now shows special effects, since many motifs independently emit "light" in the invisible infrared range - more or less depending on the temperature! Very warm areas of a scene then lead to more "exposure" of a recording medium than colder areas. The classics of landscape photography in the infrared range are therefore deciduous trees (avenues) in summer, because then the trees have (dark) leaves on the one hand and on the other hand are sufficiently heated to "shine" in the infrared range. So they do not appear "green" but "white", while colder subject areas then appear black. (Fig. 2, 3 and 4) Blue sky appears black and dramatic pictures can be taken if there are corresponding white clouds (lead picture and picture 1). The pictures of people then lead to almost mystical effects. The well-perfused facial skin is then shown in white and appears milky - without disturbing skin impurities, while the eyes that are not supplied with blood and therefore colder appear almost black (Fig. 6). The structures of stone structures appear rich in contrast (Figure 5) and bathing meadows in winter white with people in T-shirts or bathing suits have an almost bizarre appearance (Fig. 7).
Concerning IR recording techniques
First of all, you need a digital camera whose sensor has a sufficiently high sensitivity in the infrared range. This is determined by the sensor itself, which is usually has the highest sensitivity in the wavelength ranges from 350 nm to 1100 nm. Considering the range of visible light as above from 400 nm to 750 nm, this range is completely covered by standard sensors, but also areas in the invisible UV and IR spectrum.
There is usually an infrared cut-off filter in front of the image sensor of digital cameras, which is to prevent infrared light from entering. Interfering influences of IR radiation on the imaging quality of the sensor are thus avoided. This can be blurring or color distortion. If a digital camera is available, you must first check whether its combination of low-pass filter / sensor allows enough light to pass through in the infrared range in order to be able to take IR pictures. Simple tests could e.g. the recording of the transmitter of an activated IR remote control or the heating plate of a ceramic hob. To put it bluntly, a picture taken in this way shows more than you can see with the naked eye, so the camera is probably suitable for being able to take infrared pictures.
Next you need a long pass plastic filter for the infrared range. These are available for different wavelengths. The sample picture of Chambord Castle (Fig. 5) was created with a 720 nm filter from Hoya (R72). The filter wavelength of 720 nm describes the maximum of the transmission - but visible parts of the light also pass through the filter - albeit significantly attenuated. This is also an advantage for one or the other photo project. If you want to exclude the visible wavelength range for your project as far as possible, we recommend filters with higher transmission maxima e.g. offers Heliopan filters made of Schott glass, which are transparent from the spectral ranges 780 nm, 830 nm, 850 nm and 1000 nm. However, the resulting IR images are pure black and white images and no longer contain false colors, which offer one or the other design option at 720 nm.
If the selected combination of camera and filter is available, first IR recordings can be planned. The main disadvantage of this procedure: As soon as the filter has been inserted, the focus is no longer correct due to the IR wavelength and, most certainly the most hindrance, you can no longer see the object, since the proportions of visible light are now completely reduced. With a screw-on filter like the Hoya R72, the recording process then looks like this
- Set up camera and tripod (and switch VR off)
- Set the smallest f-number
- Focus on the subject (auto or manual) and then switch off auto focus
- Screw on the filter
- First test photo e.g. with 8 seconds exposure with the aperture open
- Then take more shots with a higher and / or lower f-number to get to a photo where you can judge whether the image was in focus or out of focus.
- With the exposure time found, take several pictures in which the focus of the camera is changed manually until the resulting IR picture is in focus
- Now optimize aperture and exposure time e.g. Select aperture 5.6 or 8, where most lenses show their best imaging performance and adjust the optimal exposure time found with the lens open
- Then the digital recording goes into development e.g. with Photoshop
Although this is complex, it is a comparatively inexpensive procedure to tackle the topic of IR photography. For those who like this type of photography, there are more convenient approaches. On the one hand, there are specialized companies that can convert several types of digital cameras to infrared cameras. For example, Optic Macario in Mönchengladbach offers this for some Nikon, Canon etc. models. not only is the IR cut filter replaced, but also the auto focus is calibrated to the desired wavelength. The advantage is obvious, an external filter is no longer required and you can view and focus on the desired subject.
If you have the necessary knowledge and skills, you can also dare to convert a digital camera to a digital IR camera yourself. I have e.g. a Nikon D70 and a Nikon D70s converted. On the one hand I can use my Nikkor lenses on the D70 and on the other hand this model is now available for around € 100.00, so a possible failure when converting the D70 is a calculable risk.
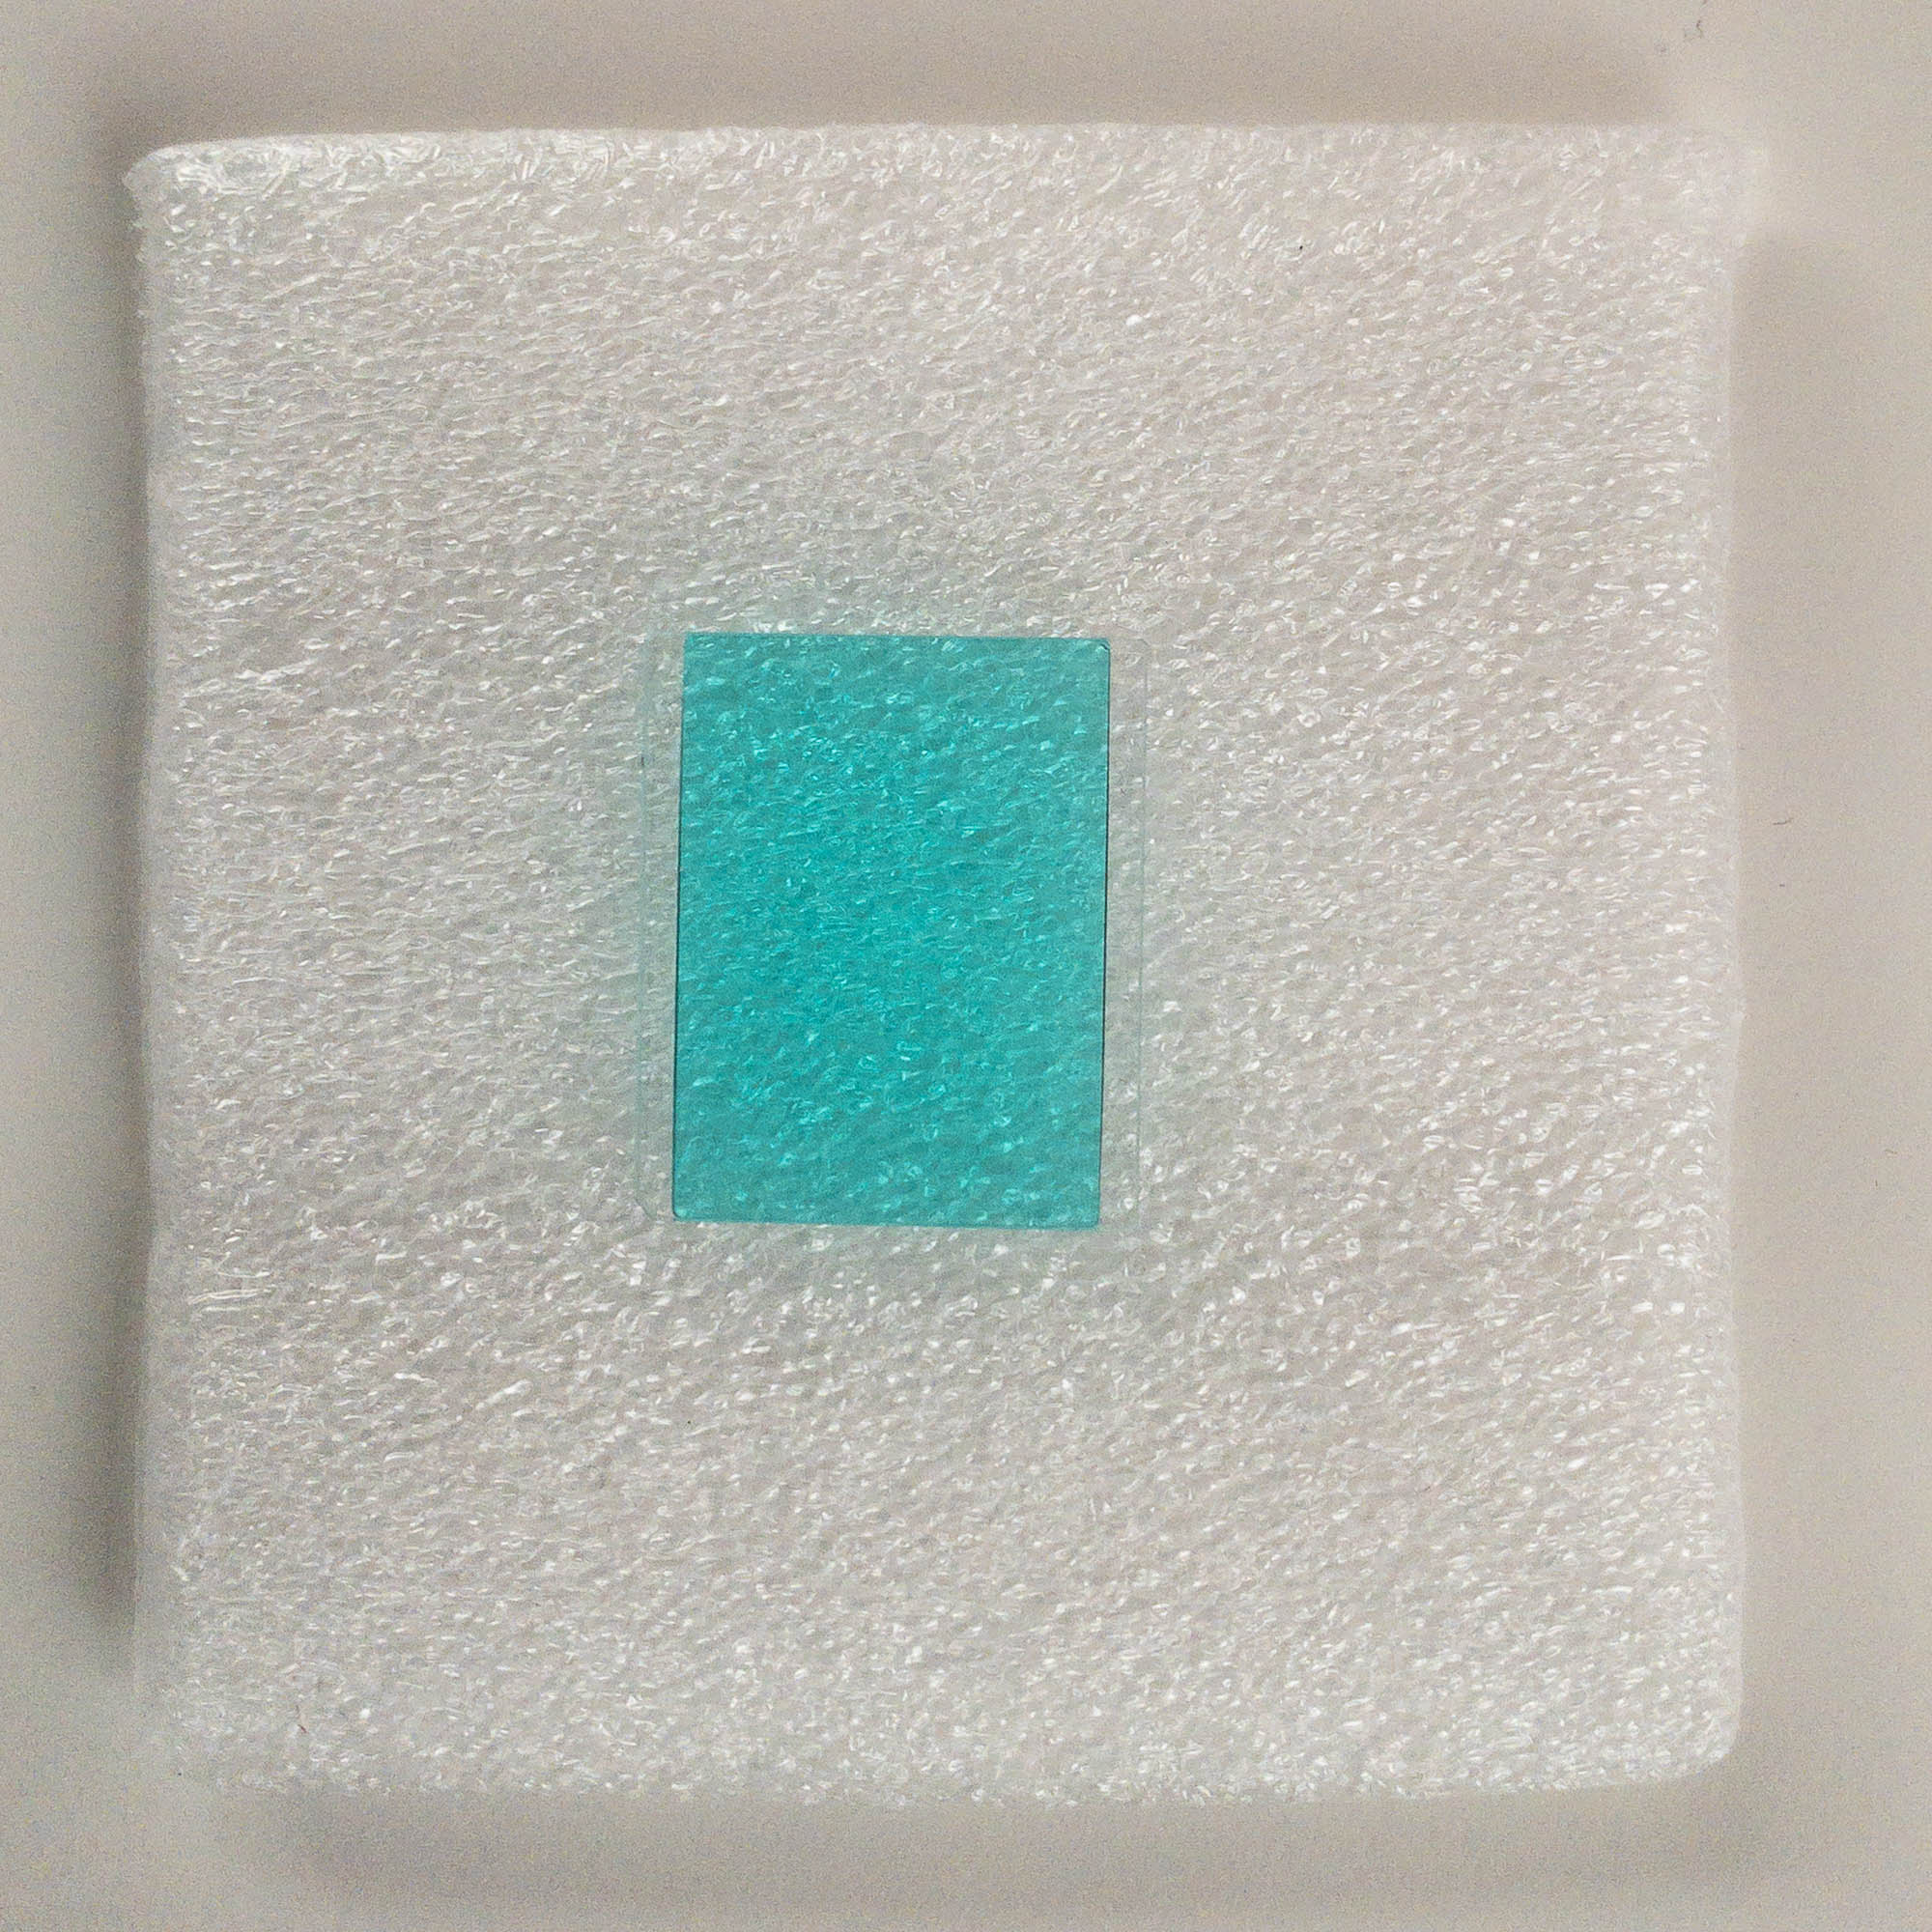
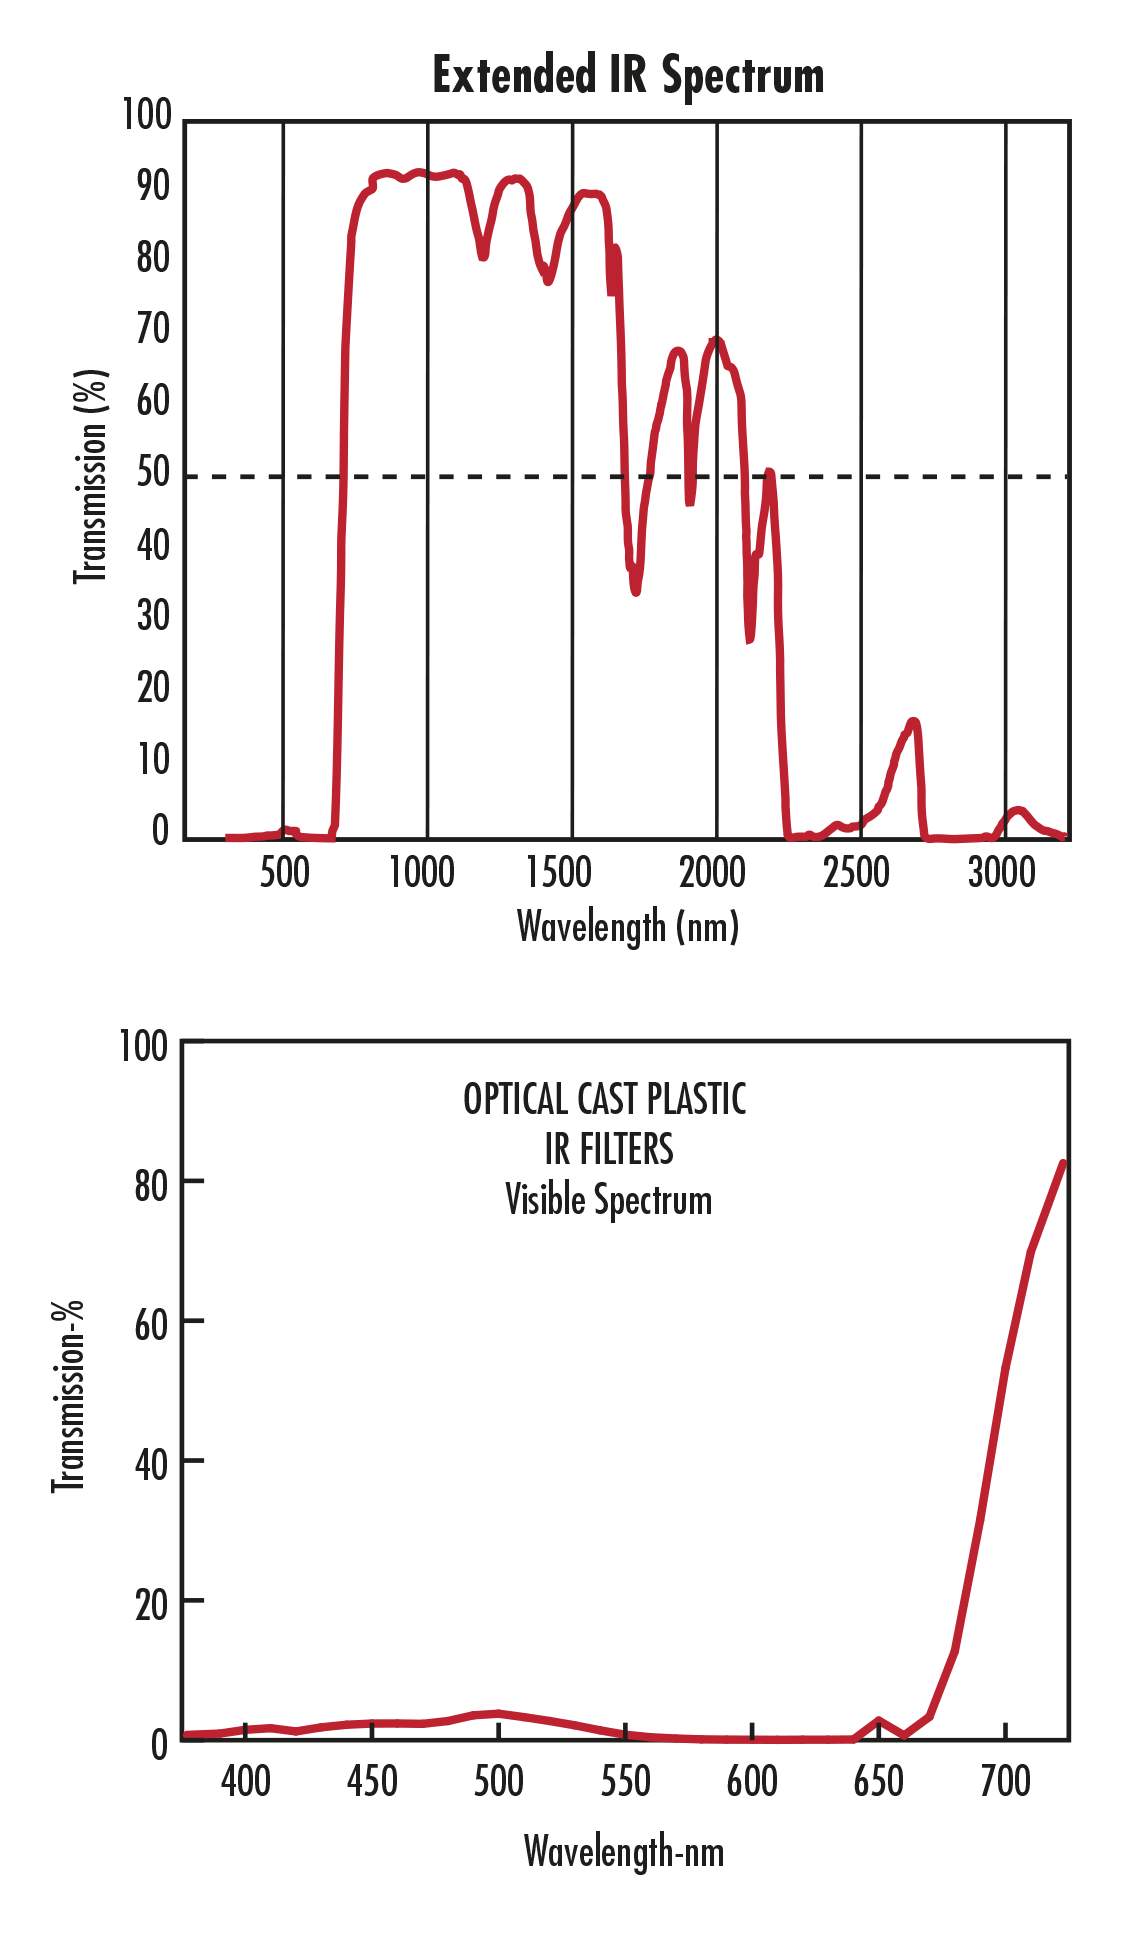
In addition to a Nikon D70 or D70s, you need an optical long-pass filter for the desired IR range and exactly the size of the IR cut filter to be replaced, which - as described above - is located in front of the sensor. I decided here for the optical IR long pass plastic filters from Edmund Optics. The transmission curves of this filter can be seen in the diagram opposite. These filters are supplied as 8 x 8 cm square elements that need to be cut to size. This filter element can be scratched and broken with a carpet knife, cut with a laser (the smoke that is created must be extracted to prevent it from being deposited on the sensitive filter surface) or CNC-cut at a friend who is an optician (I did this with the second camera ).
In any case, you should start this step before going to the camera. If you want to know more details, please use the comment function.
Then you can start to convert the camera. A good description can be found here. There are also some videos on this topic on YouTube that you should watch.
With this conversion, however, the autofocus is not calibrated to the new wavelength range. The camera still thinks that it focuses visible light, which is literally (slightly) wrong. For this reason, some test shots with an open aperture must first be carried out in order to determine the actual focus levels for the respective lens. This is of course more important in the near range than in the far range, where aperture 8 can prevent the worst at infinity.
As a reward for this effort, you get an IR camera that can (almost) be operated like a normal digital camera, since the IR light from blocking filters now falls unimpeded on the sensor and thus the necessary exposure times of around 30 s Moves the normal camera / filter combination into areas where pictures can be taken out of hand without a tripod.